 SewMendStitch
Why the decision matters
In 2018 the United States generated about 17 million tons of textile waste, roughly 5.8 percent of all municipal solid waste. Only 14.7 percent of it was recycled, and for clothing and footwear the rate was 13 percent. About 11.3 million tons went to landfill.1 A garment you keep wearing for another year or two stays out of that pile, and you skip buying its replacement.
That does not mean every torn thing deserves an evening of your time. Some repairs take ten minutes and add years of wear. Others take hours and still leave a garment that looks tired. To sort one kind from the other, run through four checks: the fabric, where the damage is, how long the fix takes, and what the garment is worth to you.
Check 1: the condition of the fabric
Start with the cloth around the damage, not the damage itself. Hold the area up to a window. If light shows through thin patches around the hole, the fabric is wearing out and a new seam or patch will pull away from weak threads within weeks. If the fabric is firm right up to the edge of the tear, a repair has something to hold onto.
A few signs that the fabric itself is finished:
- Pilling so heavy that the surface looks felted, especially at underarms and inner thighs.
- Several small holes or thin spots in the same area (this usually means abrasion, and more holes are coming).
- Knit fabric that has lost its recovery, so cuffs and necklines stay stretched after washing.
- Fading or discoloration that would make a patch or new thread stand out badly.
Read the fiber content label before you decide. US law requires most garments to list each fiber by generic name and percentage by weight, and wool must be named even when it makes up less than 5 percent.5 A 100 percent wool or cotton garment usually takes stitches, pressing and darning well. A thin polyester and elastane blend can be hard to mend invisibly because the fabric curls, frays or melts under a hot iron.
Check 2: where the damage is
Location matters as much as size. A 1 inch (25 mm) hole in the middle of a sleeve is easy to patch or darn. The same hole right beside a seam is harder, because the seam allowance (the strip of fabric between the stitching line and the cut edge) can be as narrow as 1/4 inch (6 mm) in inexpensive clothes, which leaves very little to sew into.
Damage that sits on a seam line is often the easiest of all. A seam that has come undone (a split seam) usually has intact fabric on both sides, so you restitch along the original line. A tear that runs across the fabric near a seam needs more care: see repairing a tear near a seam.
Places where repairs struggle: the crotch of trousers, elbows and knees that will keep bending, and anywhere under constant stretch such as a fitted waistband. A patch there can last, but it needs reinforcement, not a quick stitch.
Check 3: time, difficulty and the decision table
The times below are rough estimates for a beginner working by hand or on a basic machine, including threading up and pressing. Your first attempt at any repair will take longer. Use the lesson links to see exactly what each fix involves before you commit.
| Damage | Rough DIY time | Difficulty | Usually worth it? | Lesson |
|---|---|---|---|---|
| Missing or loose button | 10-15 min | Very easy | Almost always | Sew on a button |
| Split seam, fabric intact | 15-20 min | Easy | Almost always | Split seam |
| Hem coming down | 20-40 min | Easy | Almost always | Loose hem |
| Small hole in woven fabric, away from seams | 20-30 min | Easy | Yes | Small hole |
| Hole in a knit sweater | 30-60 min | Moderate | Yes, if wool or good knit | Darn a knit |
| Torn lining | 30-60 min | Moderate | Yes for coats and jackets | Torn lining |
| L-shaped or straight tear in woven fabric | 45-90 min | Moderate | Depends on location | Woven tear |
| Tear in fabric beside a seam | 45-90 min | Moderate to hard | Depends on fabric strength | Tear near seam |
| Worn-through knee or seat in jeans | 60-120 min | Moderate | If the rest is sound | Patch jeans |
| Broken zipper (whole zipper) | 1-3 hours | Hard for beginners | On coats and good trousers | See the zipper guide |
Read the "Usually worth it?" column first. If the answer is "almost always", just do it. If it says "depends", go back to checks 1 and 2.
For the most common jobs, start with sewing on a button, mending a split seam and closing a small hole. The stitches you learn on those three come up again in nearly every other repair.
Check 4: DIY, tailor, or let it go
Some jobs are better handed to a tailor or alterations shop: replacing a long separating zipper in a heavy coat, relining a whole jacket, reweaving a visible hole in a suit, or any repair on leather. Tailor prices vary widely by city, shop and garment, so no single figure is reliable. To get a real quote, take the garment in clean, point to the exact damage, and ask three things: the price, whether it includes thread and parts such as a zipper, and how long they will keep it. Ask two shops if the first price seems high relative to what the garment cost.
A useful rule: compare the quote with what you would pay to replace the garment with one of the same quality, not the cheapest substitute. A $40 lining repair on a coat that would cost $300 to replace is easy to justify. The same $40 on a top that cost class="wrap" id="main" tabindex="-1"5 is not.
Also check whether the change is possible at all. Some alterations cannot be done well no matter who does them, such as letting out a seam with no spare allowance. The lesson what alterations cannot fix covers those limits.
Worked example: two garments, two answers
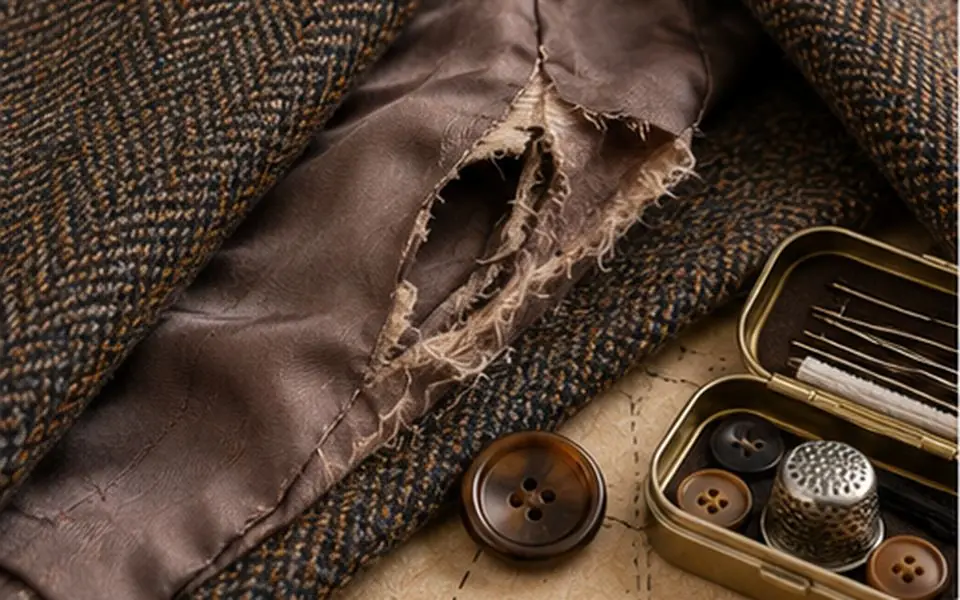
Garment A is a wool coat, about eight years old. The lining has a 4 inch (10 cm) tear along the back seam, and one of five front buttons is missing. The outer wool is firm with no thin spots.
- Fabric check: passes. The label says 80 percent wool, the shell is sound, and only the lining is damaged.
- Location: the lining tear is on a seam, so it is mostly restitching along the original line. Coat linings are normally made a little roomy, with about 1/2 to 1 inch of ease at sleeve and hem, and they hang about 1 inch shorter than the coat.4 That spare room means a small seam repair will not make the lining pull.
- Time: about 45 minutes for the lining using a slip stitch or ladder stitch from the inside (see repairing a torn lining), plus 15 minutes for the button. Coat buttons should be sewn with a thread shank so they sit above the thick fabric.4
- Button match: take a surviving button to a shop, or move the bottom button to the missing spot and put a near-match at the bottom where it shows least.
- Decision: repair. About an hour of work and under $5 in materials keeps a coat that would be expensive to replace.
Garment B is a fast-fashion knit top, worn for one season. There is a 1/2 inch (13 mm) hole in the fabric just beside the side seam, under the arm. The fabric is a thin rayon and polyester jersey, already pilling under the arms.
- Fabric check: fails. Pilling and thinness at the underarm mean the area is wearing through.
- Location: the seam allowance is a narrow serged edge, so there is almost nothing to stitch into. Any repair will pucker the stretchy fabric.
- Time: 45 to 90 minutes to stabilize the hole with a small patch on the inside and restitch the seam, and the result will still look like a repair.
- Decision: retire it, unless you love it enough to accept a visible fix. If you want to try anyway, it makes a good low-risk practice piece for the tear-near-seam method.
Donating and recycling what you retire
Donation is not the same as recycling, and it helps to know what happens next. Only about 20 percent of textiles given to charities and thrift stores are resold in the US; the rest goes to sorters who send it overseas for resale, cut it into wiping rags, shred it for stuffing and insulation, or recycle it back into fiber.2 Single-fiber textiles such as 100 percent cotton or wool can be recycled into fiber, while blends currently cannot.2
Some practical points:
- Give wearable items to a charity or thrift store, and take worn-out ones to a textile recycling drop-off rather than the trash.2
- Keep donations dry. Damp clothing mildews in the bag and gets thrown away.3
- Damaged items that charities cannot sell are often baled and sold to rag dealers, who sort by fiber and shred some into industrial wipers, stuffing or insulation.3
- Rubber-band pairs of shoes together and bag children's sets, because sorters do not have time to reunite them.2
- Composting only suits natural fibers, and buttons and zippers must come off first.3
Before a garment leaves the house, cut off any good buttons, zippers and sturdy fabric. A spare button jar saves you a trip to the shop the next time a coat loses one.
Common mistakes
- Patching weak fabric. A patch sewn onto thin cloth tears out around its edges. Reinforce a wider area or retire the garment.
- Matching thread by color on the spool. Thread looks darker on the spool than as a single strand; lay one strand across the fabric before you choose. See matching thread.
- Waiting too long. A 1/2 inch split seam becomes a 3 inch split after a few more wears, and a small hole in a sweater runs. Fix small damage early.
- Pricing the repair against a cheap replacement. Compare against a garment of the same quality and fit.
- Putting worn-out textiles in the household recycling cart. Many curbside programs do not accept them, so check local rules and use a textile drop-off.
If you are unsure, set the garment aside in a mending pile with a note pinned to the damage. Giving yourself a week often makes the decision obvious, and it stops a good coat from going into a donation bag on impulse.
Sources
- Textiles: Material-Specific Data, US Environmental Protection Agency
- Your Old Clothes Can Come Full Circle With Textile Recycling, National Institute of Standards and Technology (Taking Measure blog)
- Recycled Household Textiles and Clothing (T-4318), Oklahoma Cooperative Extension Service, Oklahoma State University
- Clothing Judging Quality Indicators: Measurements and Checkpoints (Guide C-103), New Mexico State University Cooperative Extension
- Threading Your Way Through the Labeling Requirements Under the Textile and Wool Acts, Federal Trade Commission
Links were checked when this guide was last reviewed. If one has moved, please let us know. How sources are chosen: editorial policy.